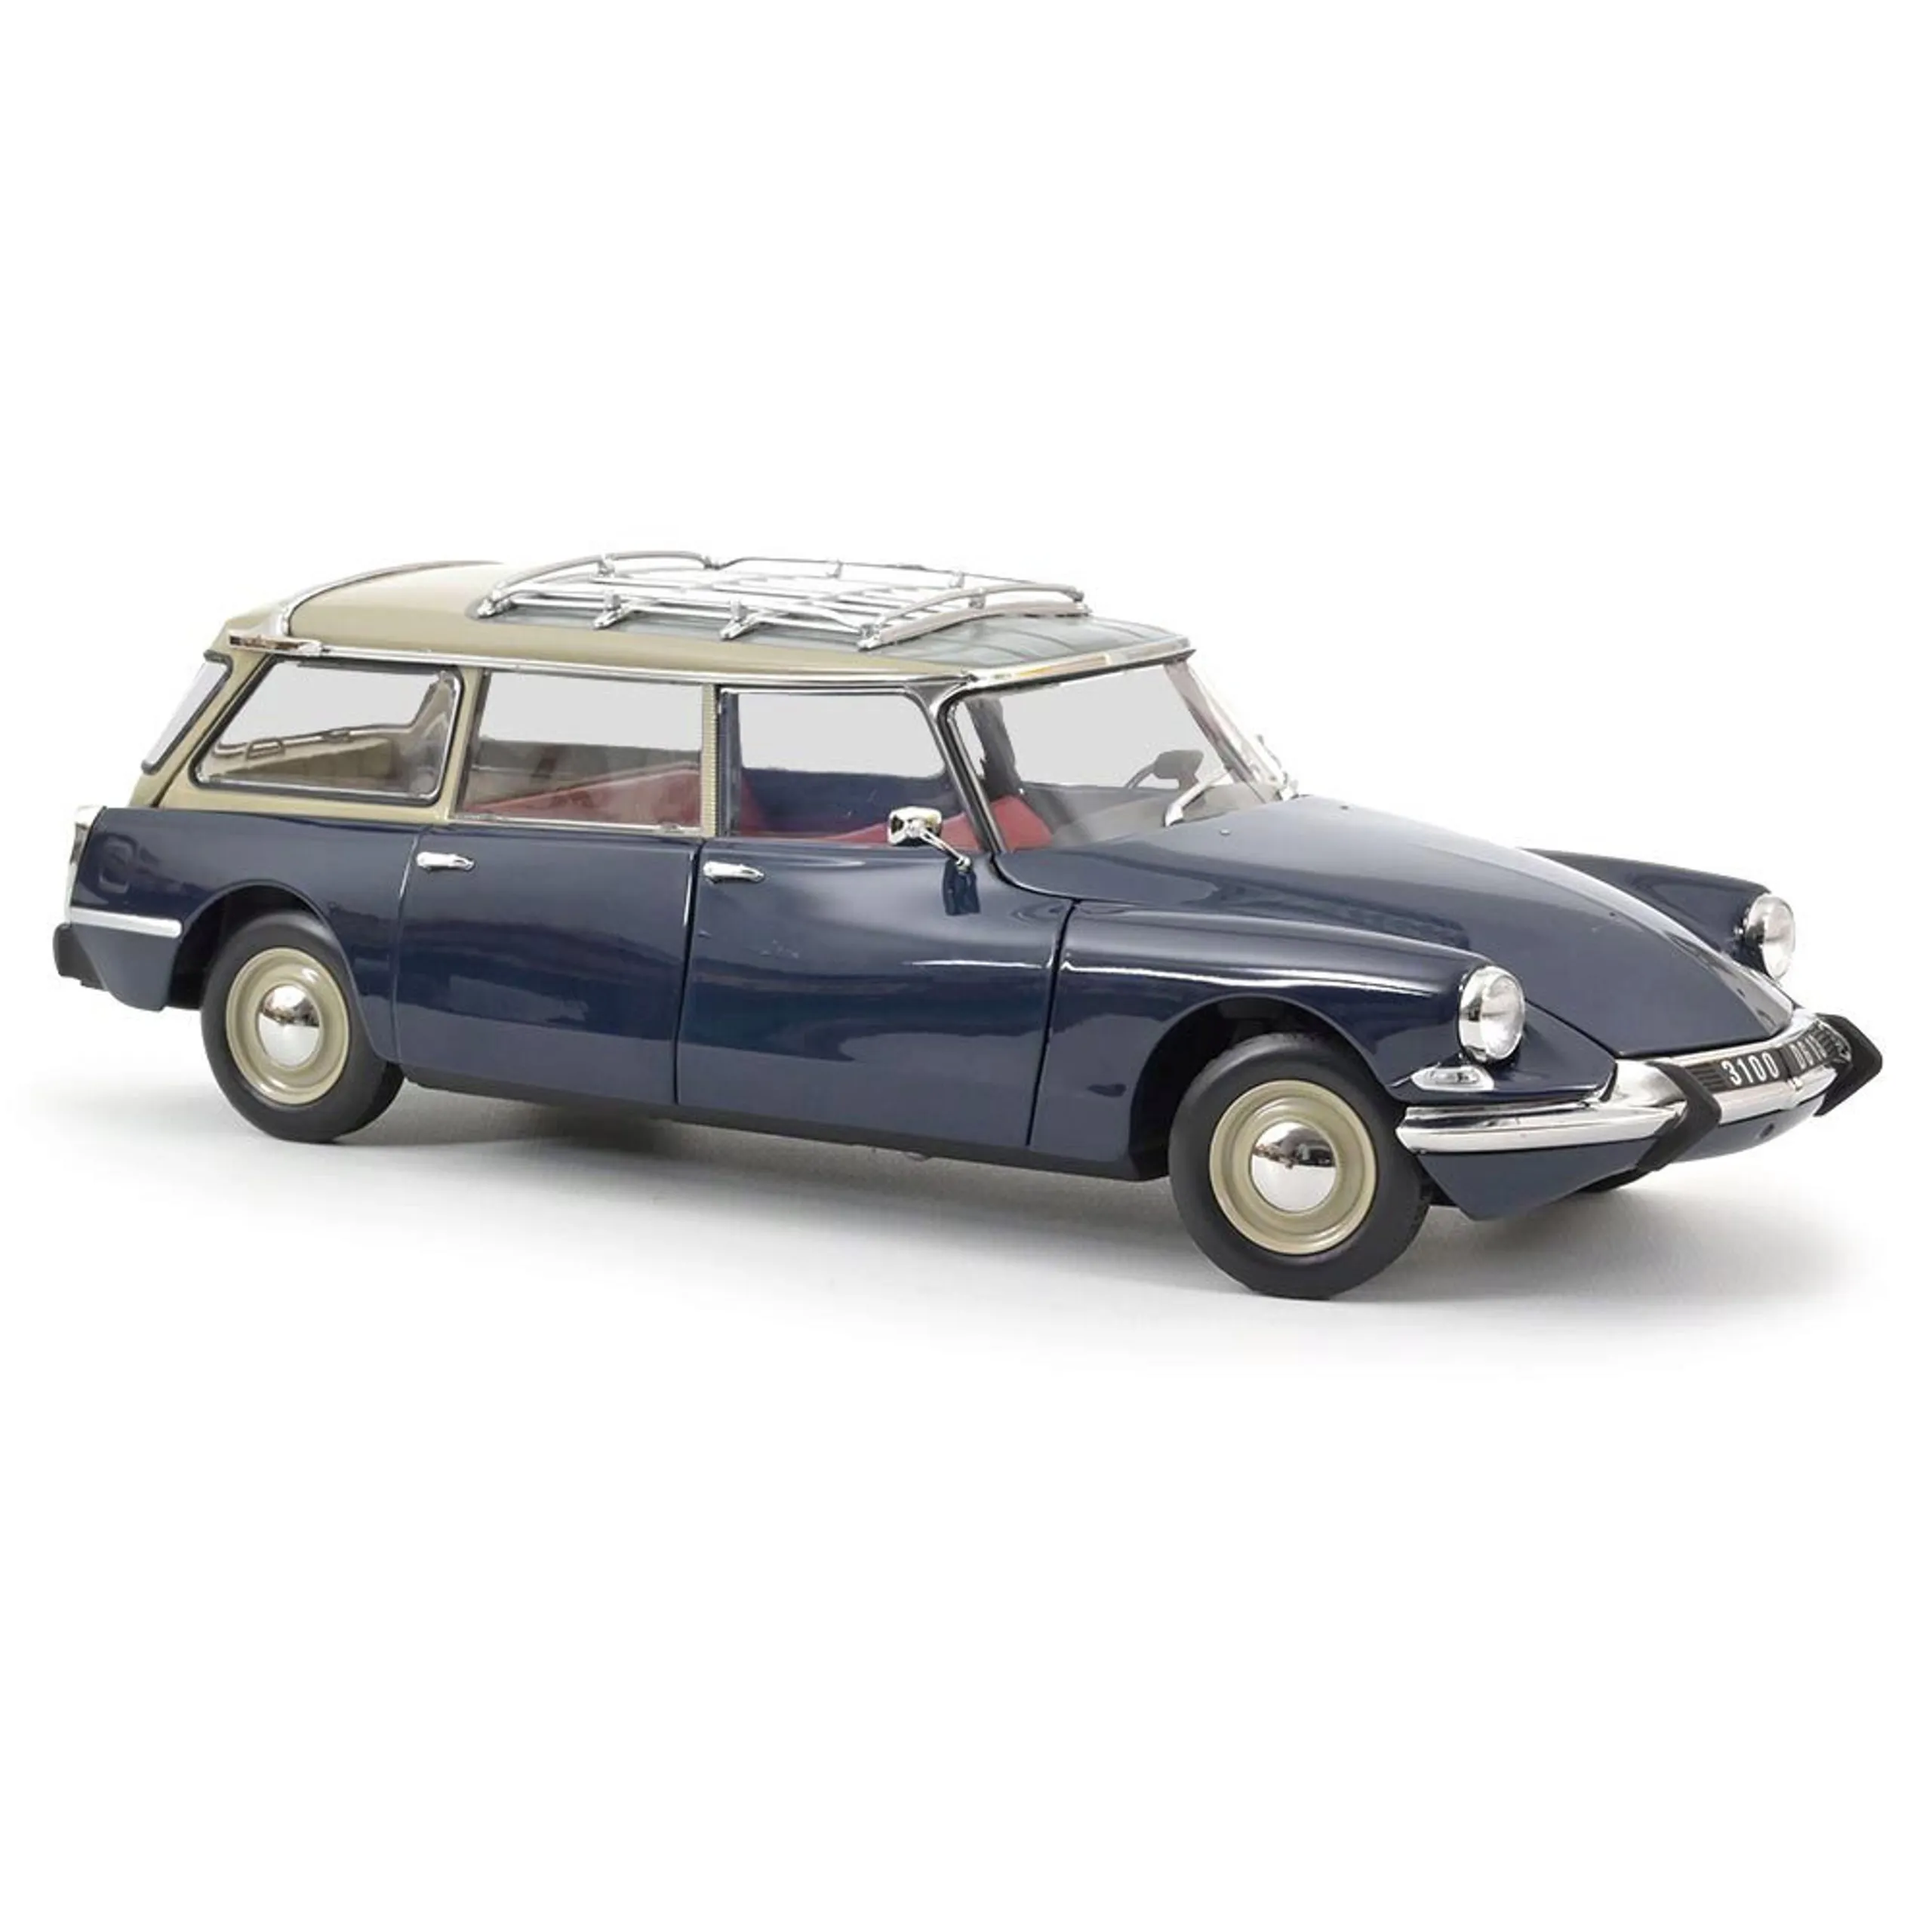
The world of 3D diecast model cars offers a fascinating blend of technology, artistry, and the enduring appeal of classic vehicles. For enthusiasts and hobbyists alike, the ability to design, visualize, and even produce their own miniature car replicas is an exciting prospect. This guide serves as your starting point, providing the essential knowledge and steps to embark on your 3D diecast model car journey. Whether you’re a seasoned modeler or a complete beginner, the tools and techniques discussed here will help you bring your automotive dreams to life in the digital realm and beyond. Prepare to unlock the potential of this immersive and rewarding creative pursuit.
What are 3D Diecast Model Cars
3D diecast model cars represent a modern evolution of traditional model car collecting and building. Instead of relying solely on pre-made kits or physical components, 3D model cars are created entirely within a digital environment. This involves using specialized software to design the car’s various parts, from the chassis and body to the intricate interior details. The 3D model provides the freedom to experiment with different designs, customize features, and achieve a level of detail previously unattainable. The resulting digital model can then be visualized, rendered, and even 3D printed to create a physical replica. This integration of digital design with physical creation opens new possibilities for personalization, customization, and the creation of truly unique model cars.
Understanding the Basics of 3D Modeling
Before diving into 3D diecast model car design, it’s crucial to grasp the fundamentals of 3D modeling. At its core, 3D modeling involves creating three-dimensional representations of objects using software. This is typically achieved through various techniques, including polygonal modeling (using vertices, edges, and faces), NURBS modeling (using curves and surfaces), and sculpting. Understanding these basic concepts will allow you to manipulate and create shapes, adjust dimensions, and add details to your models. Key aspects include understanding coordinate systems (x, y, z axes), the manipulation of primitives (basic shapes like cubes, spheres, and cylinders), and the application of modifiers and transformations. Familiarizing yourself with these concepts will lay a solid foundation for your 3D modeling endeavors.
Essential Software for 3D Diecast Model Car Design
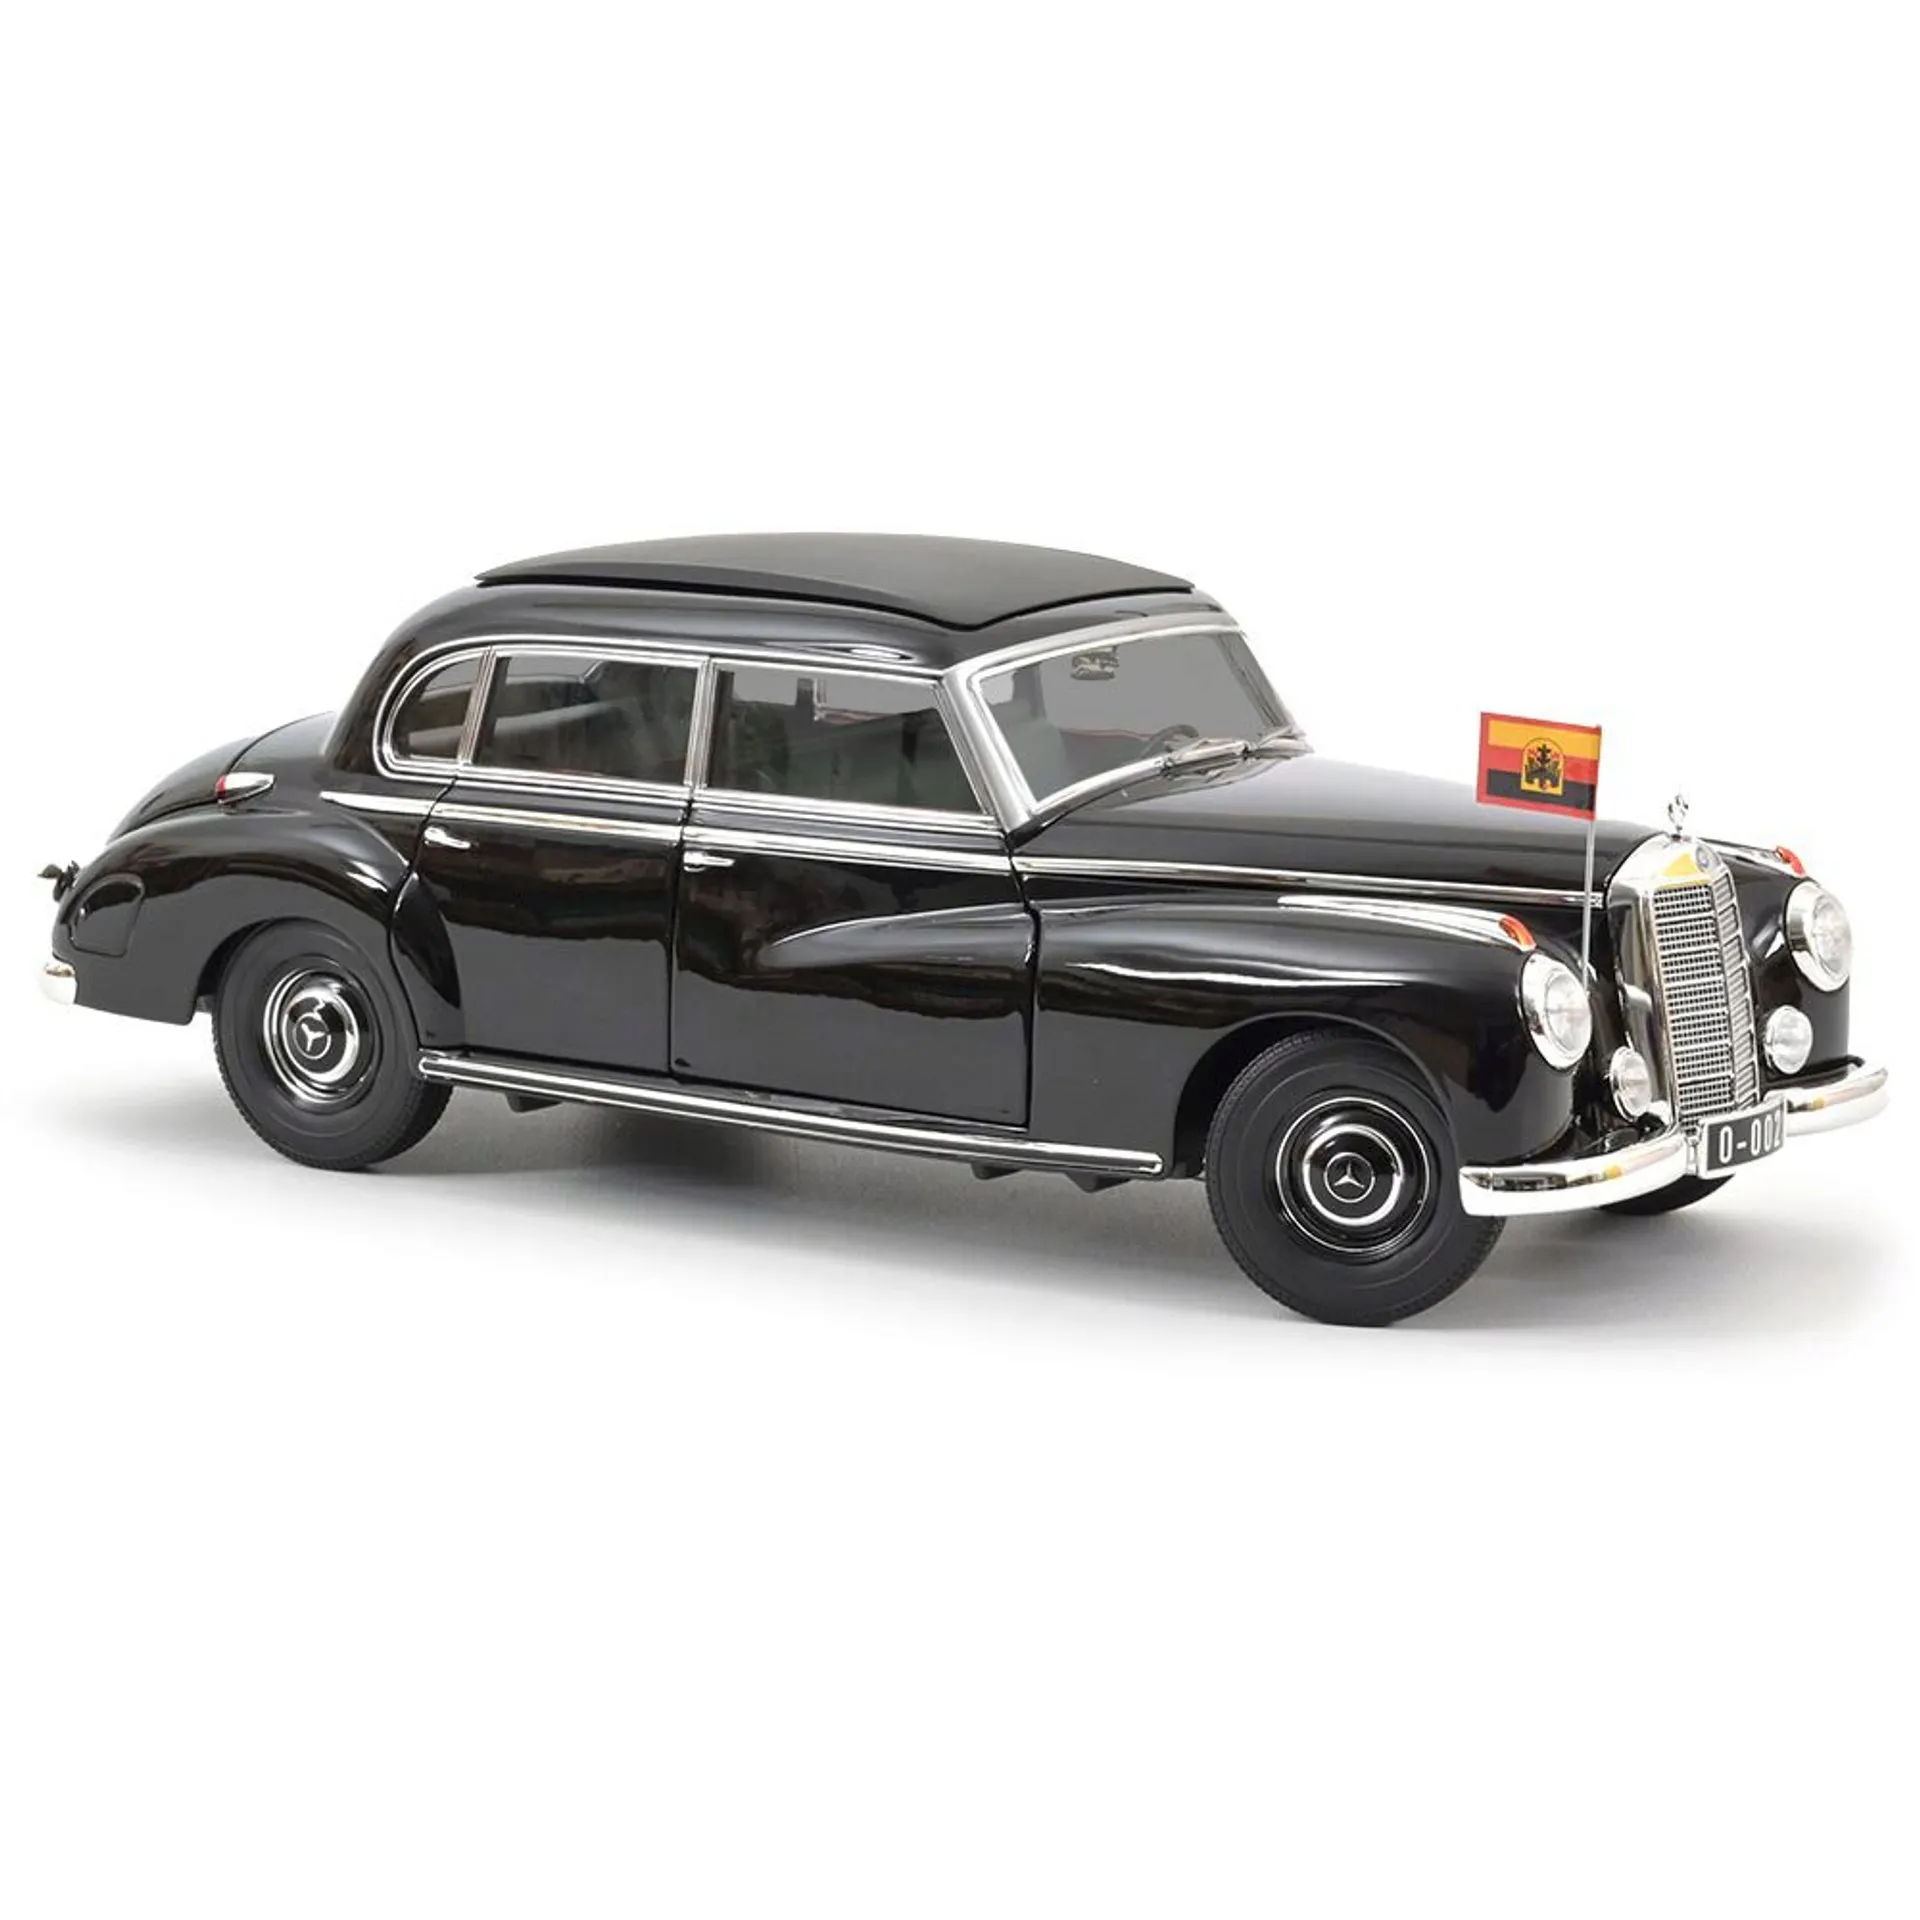
The choice of software plays a pivotal role in the success of your 3D diecast model car projects. Various software options cater to different skill levels, project complexities, and budget constraints. The most important aspects to consider when selecting 3D modeling software include the user interface, the modeling tools available, rendering capabilities, and compatibility with other file formats. Some software is geared towards beginners with user-friendly interfaces and intuitive tools, whereas others are more advanced with robust features. Before making a decision, explore trial versions or online tutorials to get a feel for the software and determine its suitability for your specific needs and project goals. Consider that some software may also require a subscription or license.
Popular Software Options
Several software packages stand out for their popularity and capabilities in the realm of 3D modeling. Blender is a widely-used, open-source option known for its versatility and comprehensive toolset. It is an excellent choice for both beginners and experienced modelers and features a large community with extensive tutorials. Fusion 360, a cloud-based software from Autodesk, is a great choice for both beginners and experts, known for its intuitive interface and integration with other design tools. Tinkercad, is a beginner-friendly, browser-based option. For professional-grade results, software like 3ds Max, and Maya are industry standards but come with a steeper learning curve. Explore the features and user interfaces of these popular options to find the one that best fits your project requirements and skill level.
Hardware Requirements for 3D Modeling
To ensure a smooth and efficient 3D modeling experience, you need the right hardware. The demands of 3D modeling software can be considerable, so having a capable computer is essential. Key components to consider include a powerful processor (CPU), a dedicated graphics card (GPU), sufficient RAM, and a fast storage drive (SSD). A multi-core processor will significantly improve performance, especially when working on complex models or rendering images. A dedicated graphics card with a significant amount of video RAM is vital for handling the intensive graphics processing involved. The amount of RAM should be at least 16GB for medium projects and ideally 32GB or more for more complex ones. A fast SSD will ensure quick loading times for your projects and generally improves the responsiveness of the software.
Choosing the Right 3D Modeling Software
Selecting the right 3D modeling software is a crucial decision that greatly impacts your design workflow. Evaluate your experience level, project requirements, and available budget to make an informed choice. If you’re a beginner, a user-friendly software like Blender or Tinkercad can be an excellent starting point. As you progress, you might explore more advanced options such as Fusion 360 or 3ds Max. Consider the availability of tutorials and community support, as these resources can be invaluable when you’re learning new software. It’s important to also check if the software is compatible with the file formats you will be using. Download trial versions and experiment with different software options before committing to a specific package.
Step-by-Step Guide to Creating a 3D Diecast Model Car
Creating a 3D diecast model car involves a series of well-defined steps that will guide you from initial concept to a completed digital model. These steps include planning and conceptualization, modeling the various components, applying textures and materials, and rendering the final design. Each step requires a different skill set and attention to detail. Following a systematic approach will help you manage the complexity of the project and ensure a high-quality outcome. Don’t hesitate to take breaks, seek feedback, and iterate on your design throughout the process. The goal is to learn, experiment, and enjoy the process of bringing your 3D car model to life.
Conceptualization and Planning
The first step in creating a 3D diecast model car is to establish a clear concept and plan for your project. Decide on the specific car model you want to create. Gather reference images from various angles of the car you’re modeling. This will serve as a crucial reference point throughout the modeling process. Create a mood board to collect visual references, color palettes, and design elements. Consider the level of detail you want to achieve. Planning includes sketching out the basic proportions and overall shape of the car. This initial planning will help you streamline your workflow, minimize design changes, and ensure a more cohesive final product. A well-defined plan will save you a great deal of time and effort during the modeling phase.
Modeling the Body and Chassis
The body and chassis form the core structure of your 3D diecast model car. Using your chosen 3D modeling software, begin by creating the basic shape of the car body, often using polygonal or NURBS modeling techniques. Pay attention to the accurate proportions and curves of the car. Next, model the chassis, the foundational structure of the car. The chassis needs to fit the body correctly and accommodate components like the engine, wheels, and interior. Utilize your reference images to guide the modeling process, meticulously shaping each part. Regularly check the dimensions and proportions to ensure that they match your reference images. Take your time, and work with precision to achieve a realistic and accurate representation of the car’s body and chassis.
Adding Details Wheels, Tires, and Interior
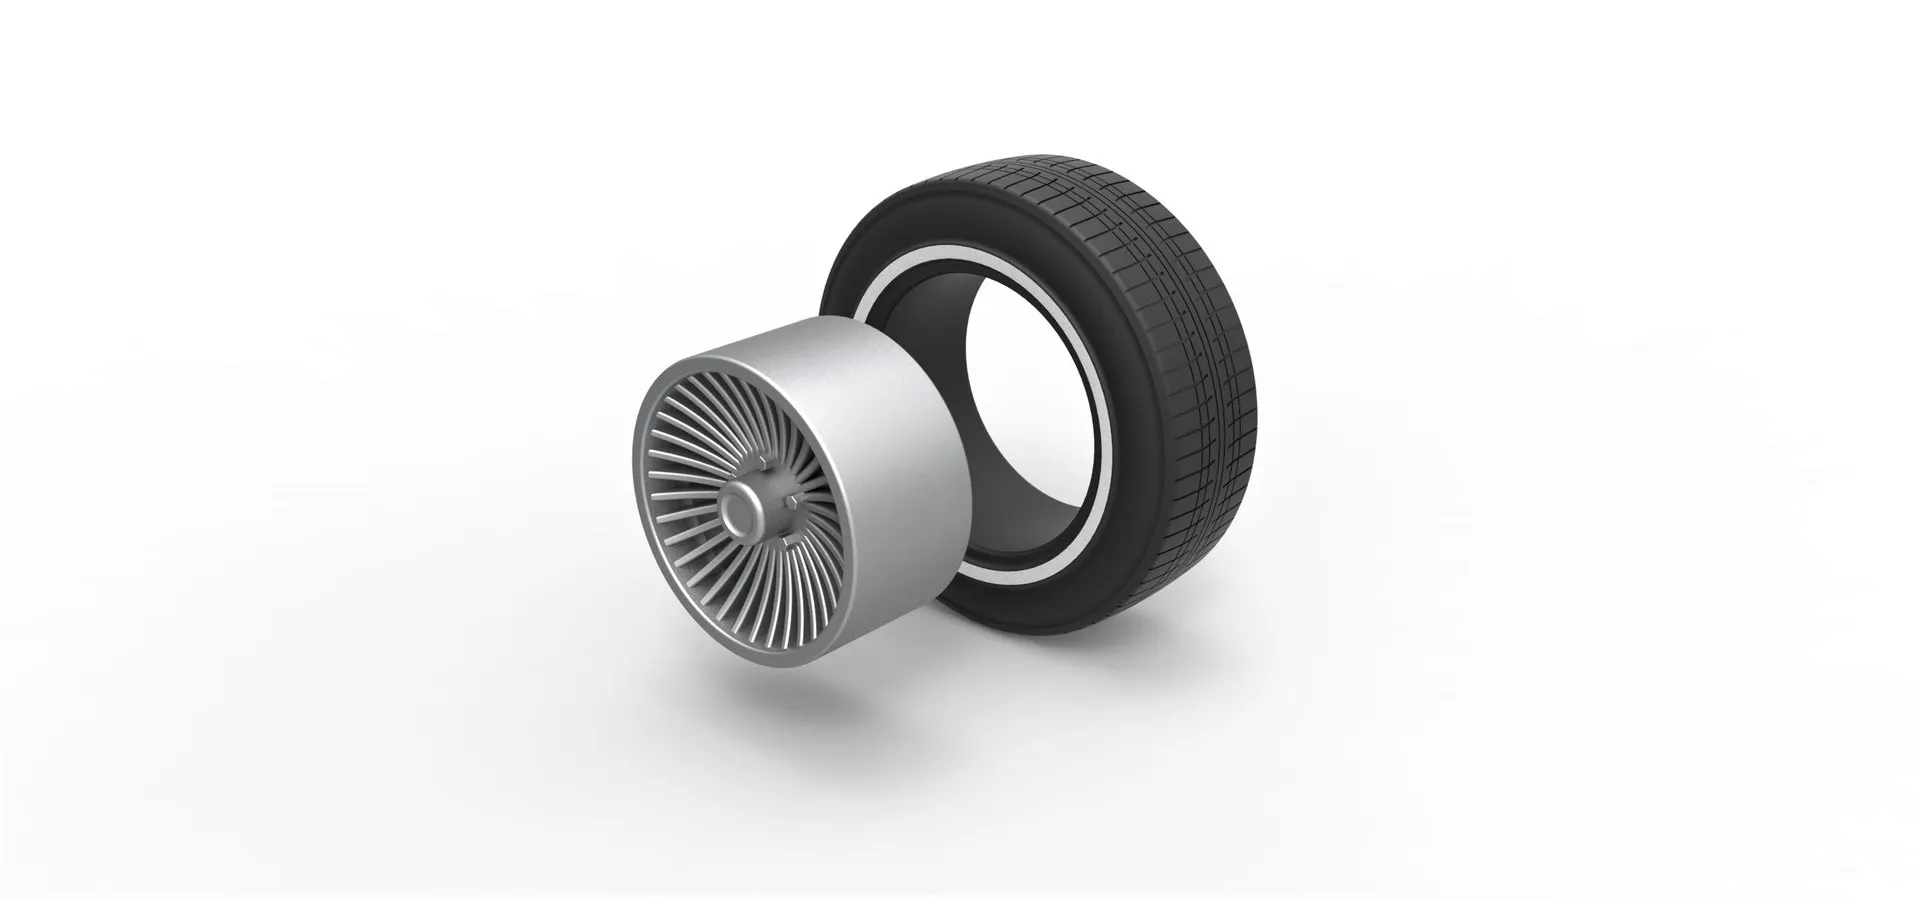
Once the body and chassis are complete, it’s time to add the intricate details that bring the model to life. Model the wheels and tires, paying attention to their specific designs, sizes, and tread patterns. Add details such as the hubcaps, rims, and brake discs. Then, turn your attention to the interior, which includes seats, dashboard, steering wheel, and other elements. Add these with the same attention to detail and reference to the car’s interior design. Pay close attention to the shape, textures, and arrangement of the interior components. These details significantly enhance the realism and visual appeal of your 3D model, turning it from a basic outline into a compelling and detailed replica.
Texturing and Material Application
Texturing and material application is the step in which the appearance of your 3D model is defined. You will be applying realistic textures and materials to the various parts of your car model, giving it a sense of realism. This involves adding materials like paint, chrome, glass, and rubber to the different parts. You’ll likely use textures such as color maps, normal maps, and specular maps to create the desired visual effects. Experiment with different material properties to achieve a look that reflects the car’s actual appearance. Proper texturing and material application bring the 3D model closer to reality, making it look visually stunning.
Rendering Your 3D Diecast Model Car
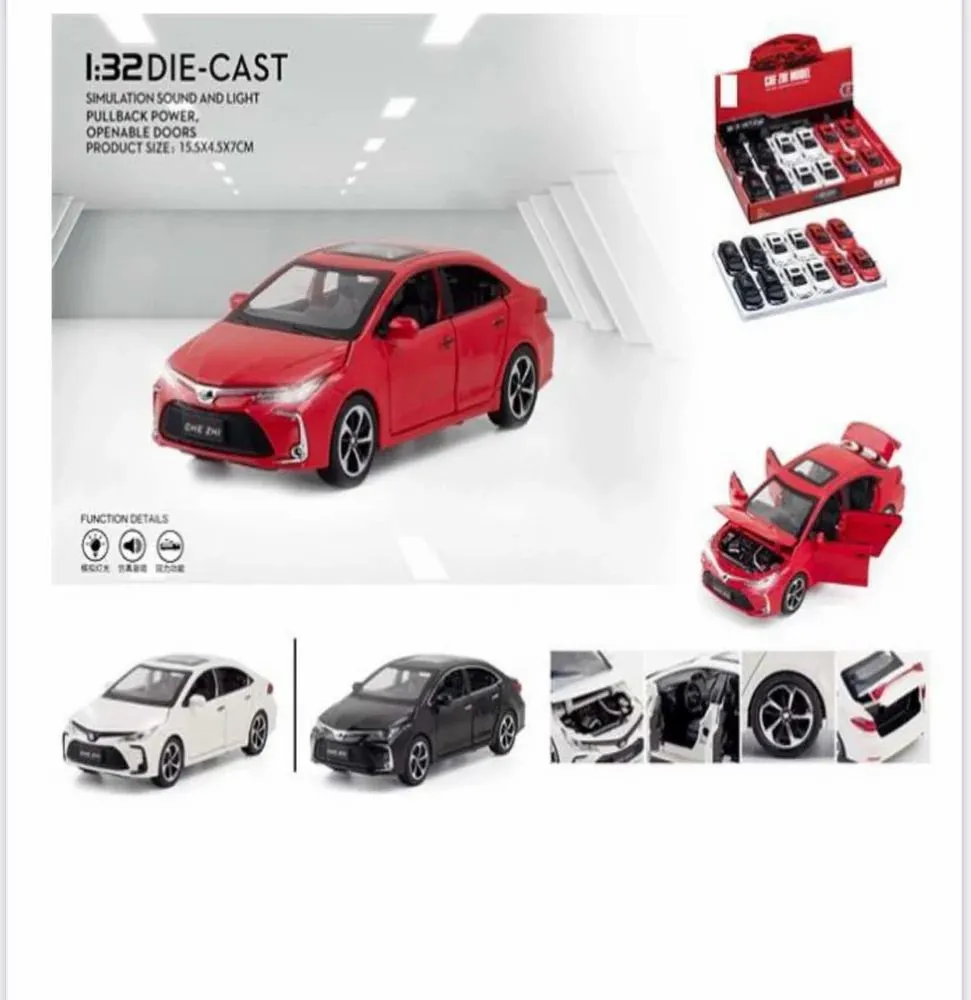
Rendering is the process of generating high-quality images or animations from your 3D model. This is where your design is transformed into a visually appealing presentation. Your 3D modeling software offers a built-in rendering engine to create realistic lighting, shadows, and reflections. You can use external renderers like Blender’s Cycles, to achieve even higher levels of realism. Set up your scene with virtual cameras, lighting, and environmental elements to create an attractive and professional-looking final image. The final result of this step is a stunning visual representation of your 3D diecast model car, ready to be shared or used for other purposes.
Best Practices for Rendering
To achieve the best results during rendering, there are some best practices to keep in mind. Proper lighting is essential to create realistic images. Experiment with different types of lights (sun, ambient, and area lights) to achieve the desired look. Adjust the intensity, color, and position of the lights to simulate the lighting conditions. Experiment with different camera angles and perspectives to find the most visually appealing composition. High-resolution renders with more samples will reduce the amount of noise, enhancing the details. Optimize your 3D model by reducing the number of polygons to improve the render times. Always test the renders and make adjustments as necessary. By following these practices, you can produce impressive, high-quality renders of your 3D model car.
Tips for Realistic Rendering
Achieving realistic renders relies on several advanced techniques. Use physically-based rendering (PBR) materials to accurately simulate how light interacts with surfaces. Adjust the roughness, metallic, and other parameters of PBR materials. Experiment with environmental lighting to add realism to your scenes. Utilize high dynamic range images (HDRIs) to simulate outdoor lighting conditions. To add more realism, use post-processing effects such as bloom, depth of field, and chromatic aberration. By experimenting with these techniques, your renders will achieve a higher level of realism, making your 3D model car look as close to reality as possible.
Troubleshooting Common Issues
As with any complex project, you may encounter challenges when working on your 3D diecast model car. One common issue is errors in the model, such as gaps or overlapping polygons. Ensure that your model is properly constructed by checking the integrity of the mesh. Problems with textures can also occur. Make sure that your textures are correctly mapped and that the resolution of your textures is adequate. Rendering errors are another frequent challenge. If you encounter rendering errors, verify the settings and lighting of your render. Don’t be afraid to consult online resources and forums to troubleshoot issues and learn from others. The goal is to approach each challenge with a problem-solving mindset and patience, and continue to refine your skills.
Common Modeling Challenges
Various challenges may arise while modeling your 3D diecast car. Maintaining the correct proportions and dimensions can be difficult. Regularly comparing your model to your reference images is important. Achieving a smooth and detailed surface on curved body panels can be complex. Using subdivision surfaces or other smoothing techniques can help. Another common issue is managing the complexity of the model and keeping your scene organized. Keep your scene organized by using groups, layers, and naming conventions. By recognizing these potential challenges and using problem-solving, you can refine your modeling workflow. Learn and adapt to each project to enhance your design skills. Don’t be discouraged by challenges, view them as learning opportunities.
Optimizing Models for 3D Printing
If you plan to 3D print your diecast model car, it’s important to optimize your model. Ensure that your model is watertight and free of any holes or non-manifold geometry. To do this, use the software’s tools for checking model integrity. Pay attention to the wall thickness and the level of detail. Thicker walls and reduced detail are generally better for printing. Consider the printing process. Ensure that your model is properly oriented and supported for 3D printing. It’s vital to export your model in a format compatible with your 3D printer. Regularly reviewing and optimizing your model for 3D printing will result in a successful outcome.
Resources and Further Learning
The world of 3D diecast model car design has vast resources that can help you enhance your skills. Online tutorials, courses, and communities will help you in the design process. There are several online platforms that offer tutorials. YouTube channels and websites such as Blender Guru and CG Cookie offer comprehensive tutorials for various software packages. Take online courses on platforms like Udemy and Coursera. These courses offer guided instruction and projects. There are active online communities and forums where you can share your work, get advice, and connect with other enthusiasts. Join communities like Blender Artists or the Autodesk Forums. By utilizing these resources and actively participating in the community, you can continuously improve your skills and learn from others.
Online Communities and Forums
Engaging with online communities and forums is an excellent way to learn, receive feedback, and share your passion for 3D diecast model cars. Join platforms like Reddit’s r/3Dmodeling, where you can ask questions, share your projects, and get feedback. Participate in discussions, share your work, and learn from other enthusiasts. Many software-specific forums also offer specialized help and advice. The exchange of knowledge, support, and feedback within the community will help you refine your designs and improve your skills. Actively participate in these communities, and you’ll gain new insights. You will also find the inspiration and motivation you need to continue your journey.
Advanced Modeling Techniques
As you progress, you can explore advanced modeling techniques to enhance your skill set. Master advanced surface modeling techniques like NURBS and subdivision surfaces to create complex shapes and smooth surfaces. Learn to use modifiers and procedural modeling techniques to automate and speed up your workflow. Explore sculpting tools to add intricate details and organic shapes. By mastering these advanced techniques, you can push the boundaries of your creativity and create even more sophisticated and realistic 3D diecast model cars. The continual learning and application of advanced techniques is essential for achieving professional results.
In conclusion, embarking on the journey of creating 3D diecast model cars is a rewarding endeavor that combines creativity, technical skill, and a passion for automobiles. By understanding the basics, selecting the right tools, and following the steps outlined in this guide, you’re well-equipped to begin designing your own miniature automotive masterpieces. Embrace the learning process, experiment with different techniques, and connect with the 3D modeling community. As you refine your skills, you’ll discover the endless possibilities of this exciting and evolving hobby. Happy modeling!
