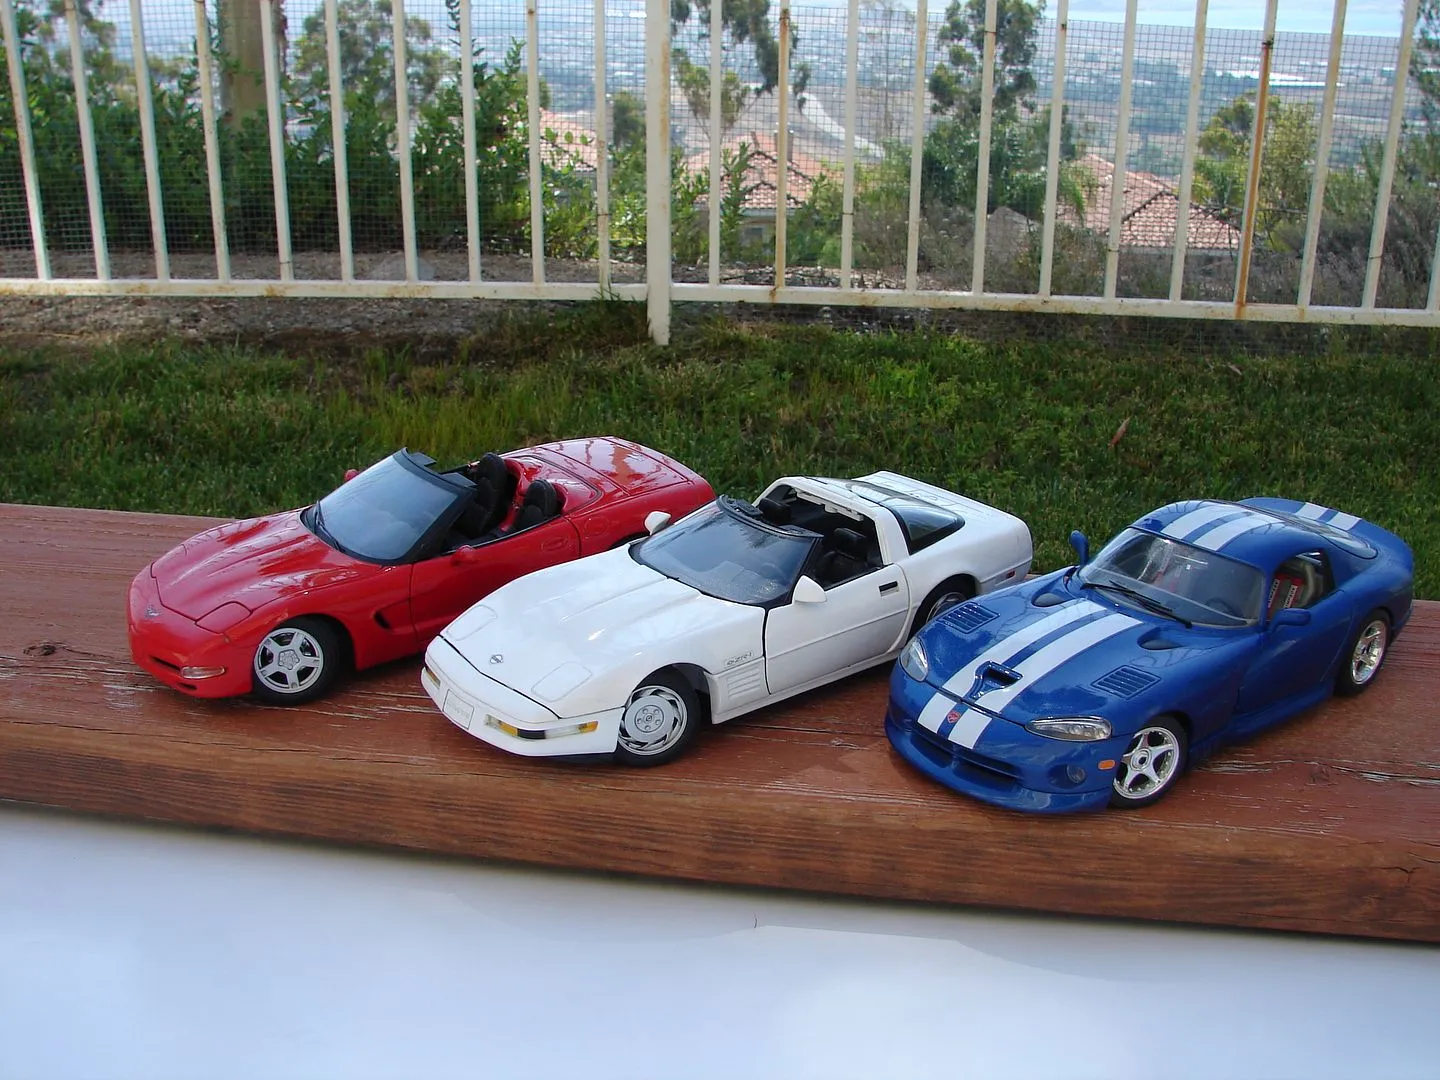
Choosing Your Diecast Car for Customization
Embarking on the journey of diecast car customization can be an incredibly rewarding hobby. The first step, and perhaps the most crucial, is selecting the right diecast car. This decision sets the stage for your entire project, influencing everything from the complexity of the modifications to the final aesthetic. Consider factors beyond just the model itself, delving into the scale, material, and overall build quality. A well-chosen diecast car will not only provide a better canvas for your creative endeavors but will also result in a more satisfying end product. Take your time, research different models, and think about the vision you have for your customized creation. This preliminary stage is where your concept begins to take shape, so choose wisely and let your imagination guide you.
Scale Matters
Scale is a pivotal aspect when choosing your diecast car. The most common scales for diecast cars are 1 64, 1 43, and 1 18. Each scale offers a different level of detail and presents unique challenges and opportunities for customization. Smaller scales like 1 64 are generally more affordable and require more precision work, while larger scales like 1 18 provide more surface area for intricate detailing and modifications. Consider the level of detail you wish to achieve and the skills you possess. Larger scales are often easier for beginners due to the increased workspace and less finicky parts. Conversely, if you enjoy a challenge and have steady hands, the smaller scales can be equally fulfilling. The choice of scale should align with your personal preferences, the tools you have available, and the level of detail you aim to incorporate into your customization.
Material and Build Quality
The material and build quality of your diecast car directly impact its customizability. Look for cars made of high-quality diecast metal, as this material typically responds well to painting, sanding, and other modifications. Inspect the model for any existing flaws or imperfections, as these can complicate the customization process. Consider the complexity of the car’s design and how easily its components can be disassembled and reassembled. Cars with simple designs and easily removable parts are usually a good starting point for beginners. Research the manufacturer and read reviews to gauge the overall build quality and the experiences of other customizers. A well-constructed diecast car provides a solid foundation for your customization efforts, making the process smoother and the final result more impressive. Investing in a high-quality base model saves time and frustration in the long run.
Essential Tools for Diecast Car Customization
Equipping yourself with the right tools is paramount for successful diecast car customization. Having the appropriate tools not only makes the process easier and more enjoyable, but also improves the quality of your finished product. Basic tools like hobby knives, small screwdrivers, and pliers are essential for disassembly and reassembly. Sandpaper of varying grits is necessary for smoothing surfaces and preparing them for painting. A good set of paintbrushes or an airbrush, along with quality paints and primers, are vital for achieving a professional finish. Additionally, consider investing in tools like a pin vise for drilling small holes, a cutting mat to protect your work surface, and a magnifying glass to assist with intricate details. The right tools will allow you to execute your customizations with precision and finesse, turning your vision into reality. Remember to prioritize safety and always wear appropriate protective gear such as safety glasses and a mask when sanding or painting.
Prep Work
Preparation is key to achieving a professional-looking finish in diecast car customization. This involves several steps, starting with carefully disassembling the car. Remove all parts that you intend to customize, such as the wheels, interior components, and any exterior details. Next, clean the diecast car thoroughly to remove any dirt, grease, or existing paint. Use a mild degreaser and a soft cloth. After cleaning, lightly sand the surface of the car to remove the factory paint and create a smooth surface for your new paint. Use progressively finer grit sandpaper to achieve the best results. Finally, prime the car to provide a base for the paint and ensure better adhesion. Proper preparation ensures that your paint job will adhere properly and result in a flawless finish. Don’t rush this step; it is crucial to the overall quality of your custom diecast car.
Painting and Finishing

Painting is where your creativity truly shines in diecast car customization. Choose high-quality paints specifically designed for model cars, and consider using an airbrush for a smooth, even finish. Start by applying thin, even coats of paint, allowing each coat to dry completely before applying the next. This helps prevent runs and drips. Once the paint is dry, you can add details using finer brushes or specialized techniques like weathering or dry brushing to give your car a realistic look. After the paint has fully cured, you can apply a clear coat to protect the paint and add a glossy or matte finish. Consider the type of finish that will best complement your custom design. A well-executed paint job is the centerpiece of your customization, so take your time, experiment with different techniques, and let your artistic vision guide you. Remember that patience is key, and multiple thin coats are always better than one thick coat.
Advanced Customization Techniques
Once you’ve mastered the basics, you can explore advanced customization techniques to elevate your diecast car creations. These techniques allow you to add a greater level of detail and personalization, making your models truly unique. This may include modifying body panels, creating custom interiors, or adding unique features that are not part of the original design. Learning these advanced techniques requires patience, practice, and a willingness to experiment. Consider joining online forums or communities where you can learn from other customizers and share your own work. These groups often provide valuable resources, tutorials, and inspiration. There is no limit to the possibilities, from engine swaps to scratch-built body parts, these advanced techniques allow you to push the boundaries of your creativity.
Detailing
Detailing is one of the most rewarding aspects of diecast car customization. It involves adding intricate details that bring your model to life. This can include adding realistic interiors, such as seats, dashboards, and steering wheels. Use a variety of small paintbrushes and detail pens to add fine lines, accents, and realistic features. Consider using specialized detailing products like washes and weathering powders to add depth and realism. Detailing the engine compartment is another area where you can showcase your skills. Adding wires, hoses, and other engine details can significantly enhance the overall appearance of your model. The key is to pay attention to the smallest details and to work methodically. Remember that even the smallest details can make a big difference in the final result, so take your time and enjoy the process.
Adding Custom Decals

Custom decals can dramatically enhance the visual appeal of your customized diecast cars. These are applied to the painted surface, providing additional detail and personalization. You can create custom decals using decal paper and a printer, or you can purchase pre-made decals from hobby shops or online retailers. When applying decals, start by carefully trimming them to remove any excess material. Use a decal setting solution to help the decals conform to the surface of the car and to ensure they adhere properly. Use a soft cloth or cotton swabs to gently press the decal onto the surface, removing any air bubbles. After the decals have dried, you can apply a clear coat to protect them and to blend them seamlessly into the finish. The use of custom decals can add a personal touch to your model, allowing you to replicate a specific race car, a favorite brand, or your own unique design.
Wheel Swaps and Upgrades
Wheel swaps and upgrades can drastically alter the look of your diecast car, offering a significant visual impact. Consider the style of wheels that best complements your overall design, choosing from a variety of aftermarket options, including different sizes, styles, and materials. Removing the original wheels and axles is the first step. Measure the existing wheel hubs and find replacement wheels that fit. In many cases, you may need to modify the axle or the wheel wells to accommodate the new wheels. Some customizers even create their own axles or modify the existing ones. Once you’ve installed the new wheels, you can apply detailing to enhance the appearance, such as painting the brake calipers or adding custom tire lettering. Experimenting with different wheel combinations is a great way to personalize your diecast cars and give them a unique look. Always ensure the wheels roll smoothly and don’t interfere with the car’s movement.
Final Touches and Display
Once you’ve completed all the customization steps, it’s time to add the final touches that will bring your model to life. These final steps often involve reassembling the car, adding any remaining details, and preparing it for display. This is the culmination of your hard work and is your opportunity to perfect the model. Carefully reassemble the car, making sure all parts fit correctly and securely. Inspect the model for any imperfections and make any necessary corrections. Clean any smudges or fingerprints. Consider adding accessories like custom license plates, side mirrors, or other small details that enhance the overall realism. The goal is to create a model that is visually appealing and reflects your attention to detail. Once your model is complete, protecting it and showcasing it properly are essential to preserve it and appreciate your work.
Protecting Your Work

Protecting your custom diecast car is essential to preserve your work and prevent damage. The primary step is to use a high-quality clear coat to protect the paint and any decals you have applied. Clear coats act as a barrier against scratches, UV rays, and environmental factors. Consider using a display case to protect your model from dust, dirt, and accidental damage. Display cases come in various sizes and styles, allowing you to showcase your creations in an attractive and safe manner. Handle your models with care, avoiding touching the painted surfaces directly. If you need to clean your model, use a soft cloth and avoid harsh chemicals. Proper care and protection will ensure your custom diecast car lasts for years to come, allowing you to enjoy your creation for a long time.
Displaying Your Custom Creations
Displaying your custom diecast cars is an excellent way to showcase your creative efforts and share your passion with others. Consider the overall aesthetic of your display, and choose a setting that complements the style of your models. Arrange your cars in an organized and visually appealing manner, perhaps grouping them by make, model, or theme. Use display cases, shelves, or custom-built dioramas to create a visually engaging presentation. Incorporate lighting to highlight the details of your models, and add background elements like model figures, buildings, or scenery to create a realistic environment. Join a car model club or attend model shows to share your work with other enthusiasts and get inspired by their creations. Presenting your custom diecast cars allows you to take pride in your craftsmanship and connect with a community of fellow hobbyists.