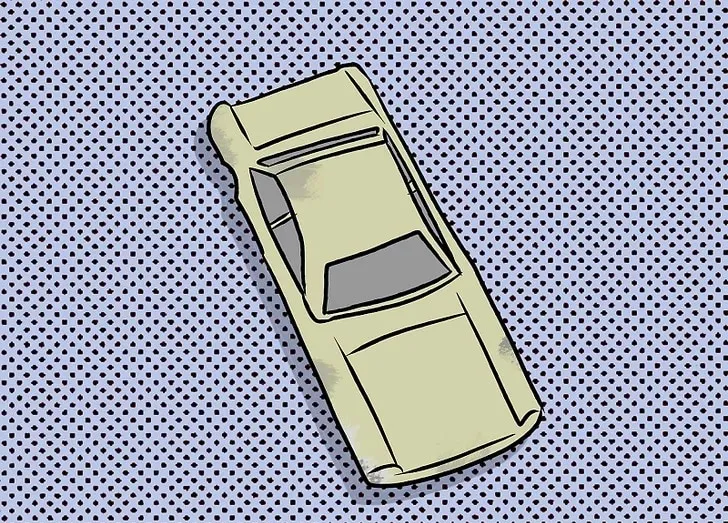
Preparing Your Diecast Car for Painting
Painting a diecast car is a rewarding hobby that allows you to customize and restore your favorite models. However, the key to a professional-looking paint job lies in proper preparation. This crucial first step ensures that the new paint adheres correctly, creating a smooth, durable finish. Rushing this process can lead to imperfections, such as peeling, bubbling, or uneven surfaces, ultimately detracting from the final result. Investing time in thorough preparation is, therefore, an investment in the quality of your finished diecast car. This detailed guide walks you through each stage, helping you achieve stunning results.
Disassembly and Cleaning
Before you even think about paint, carefully disassemble your diecast car. Remove all parts that can be detached, such as wheels, windows, interior components, and any other accessories. This allows you to access all surfaces for cleaning and painting. Use appropriate tools to avoid damaging the car. Once disassembled, thoroughly clean each part with warm, soapy water. Remove any dirt, grease, or residue that could interfere with paint adhesion. Rinse thoroughly and let all the pieces completely dry before moving on. This is vital as any contaminants will ruin the final paint job. See image (diecast-car-prep.webp).
Removing the Original Paint
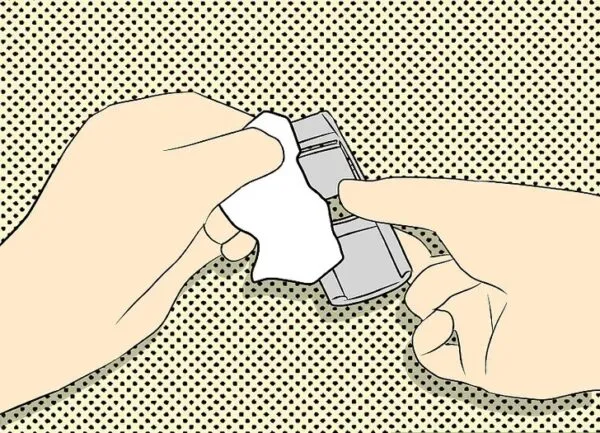
Now that your diecast car is prepped, it is time to remove the original paint. This ensures that the new paint adheres properly and prevents any potential reactions between the old and new layers. There are several methods to strip the paint, each with its own advantages and disadvantages. Chemical paint strippers are effective but require careful handling and proper ventilation. Follow the manufacturer’s instructions to avoid damaging the car’s metal or plastic parts. Alternatively, you can use a gentle abrasive method, such as bead blasting, which is less harsh but still effective. No matter the method you choose, make sure to completely remove all traces of the original paint. See image (removing-paint.webp).
Sanding and Surface Preparation
Once the original paint is removed, the surface needs to be prepared for the primer. This step is crucial for achieving a smooth, professional finish. Start by sanding the entire surface of the car with progressively finer grit sandpaper. Begin with a coarser grit to remove any imperfections and then gradually move to finer grits to smooth out the surface. Be careful not to sand too aggressively, as this can damage the details of the car. The goal is to create a slightly textured surface that the primer can grip onto. After sanding, clean the car thoroughly to remove any sanding dust. Use a tack cloth or compressed air to ensure a clean surface. See image (sanding-prep.webp).
Priming the Diecast Car
Priming is a critical step in the diecast car painting process. It provides a uniform base for the color coat, improves paint adhesion, and helps to hide any imperfections on the surface. A well-applied primer will also enhance the durability and longevity of your paint job. Priming fills in minor scratches and imperfections, creating a smooth, even surface for the color to adhere to. It acts as a bonding agent, ensuring that the paint adheres properly to the metal or plastic of the diecast car. The choice of primer and its application are essential for achieving a professional-looking finish, so take your time and follow these steps for best results.
Choosing the Right Primer
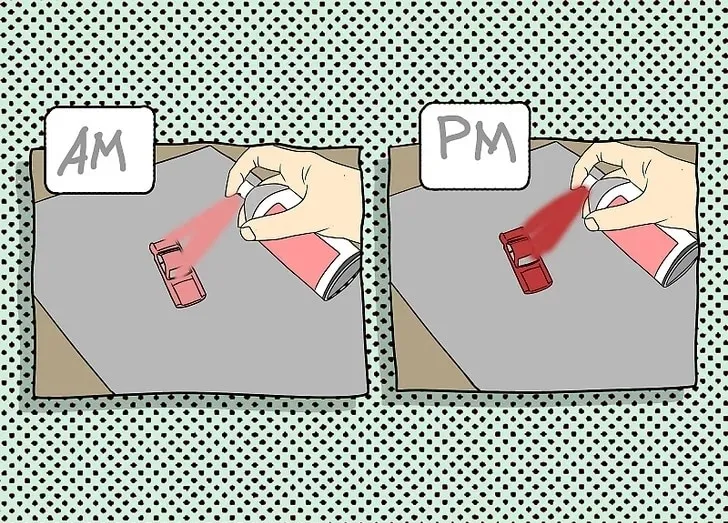
Selecting the right primer is essential. For diecast cars, a self-etching primer is a popular choice as it etches the metal, promoting excellent adhesion. Another option is a standard automotive primer, which provides a smooth base for the paint. The type of primer you choose will depend on your specific needs and preferences. Consider the material of your diecast car. Some primers are specifically designed for metal, while others work better on plastic. Always follow the manufacturer’s instructions for the primer you select. Proper primer selection directly impacts the paint’s adhesion, durability, and overall finish. See image (priming-diecast.webp).
Applying the Primer
Applying the primer correctly is crucial for a flawless finish. Apply thin, even coats of primer, allowing each coat to dry completely before applying the next. Avoid applying thick coats, as this can lead to runs and drips. Hold the spray can or airbrush at a consistent distance from the car’s surface and use smooth, even strokes. Typically, two to three thin coats of primer are sufficient. After the final coat of primer has dried, lightly sand the surface with fine-grit sandpaper to remove any imperfections. This will provide a smooth surface for the color coat. Allow the primer to cure completely before proceeding to the next step. This will ensure optimal adhesion and a professional-looking result.
Color Application and Techniques
The color application is where your diecast car truly comes to life. This step involves choosing your desired paint color, applying it evenly, and building up the layers to achieve the perfect finish. There are various techniques to master, from airbrushing to using spray cans. Each method has its own set of advantages and considerations. The goal is to create a smooth, even coat of color that enhances the details of your diecast car. Patience and attention to detail are key in this phase. Proper color application is what transforms a simple model into a stunning work of art.
Choosing the Right Paint
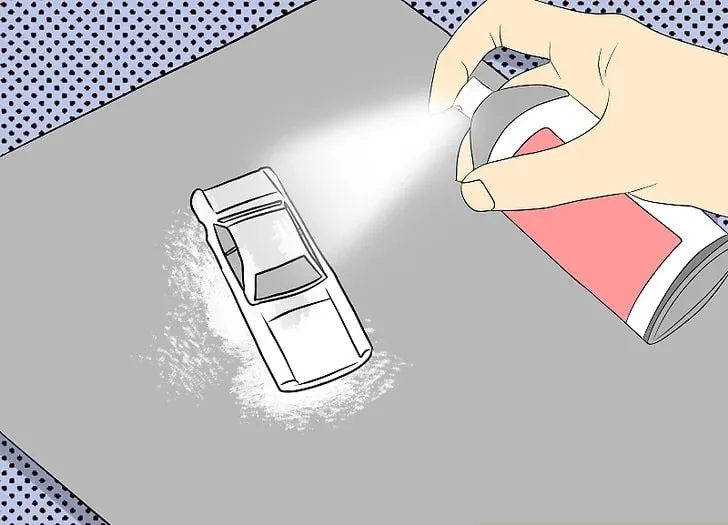
Selecting the right paint is fundamental to achieving a professional finish. For diecast cars, acrylic lacquers or enamels are popular choices due to their fine pigment and ease of use. Acrylic lacquers dry quickly and provide a durable finish, while enamels offer excellent durability and a glossy appearance. Consider factors such as the desired finish, ease of application, and drying time. Experiment with different paint types to determine which one best suits your needs. High-quality paints produce superior results, so invest in reputable brands. See image (choosing-paint.webp).
Airbrushing vs. Spray Cans
Both airbrushing and spray cans can be used for color application, each offering unique advantages. Airbrushing provides greater control and precision, making it ideal for detailed work and intricate designs. It allows you to apply paint in thin, even coats, reducing the risk of runs and drips. Spray cans are easier to use, especially for beginners. They are more convenient for covering larger areas. When using spray cans, maintain a consistent distance and apply thin, even coats to avoid imperfections. Airbrushing requires more equipment and practice. The choice between airbrushing and spray cans depends on your skill level, the complexity of the project, and your available resources. See image (airbrushing-cans.webp).
Applying Multiple Coats and Avoiding Runs
Achieving a flawless finish requires multiple thin coats of paint. Apply the first coat lightly to provide a base layer. Allow each coat to dry completely before applying the next, following the manufacturer’s instructions. The number of coats needed will depend on the paint and the desired finish. Apply thin coats to avoid runs and drips. If you notice any imperfections, such as dust particles or runs, gently sand the area with fine-grit sandpaper after the paint has dried completely. With patience and care, you will achieve a smooth, professional-looking paint job.
Details and Finishing Touches
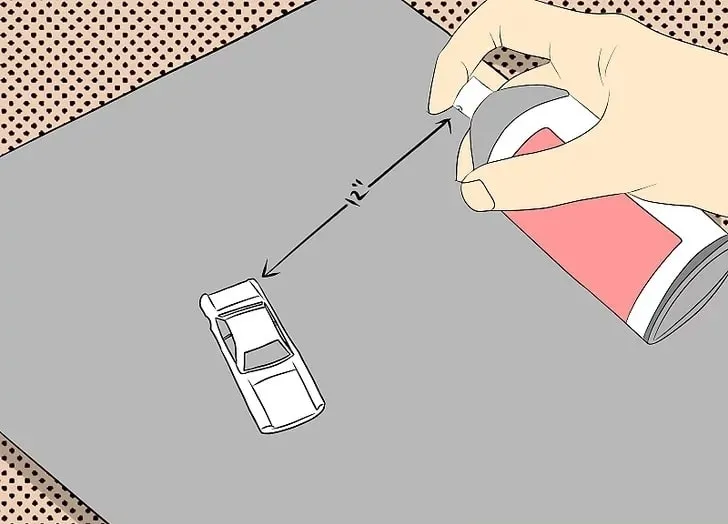
After applying the color coat, the finishing touches bring the model to life, transforming it into a detailed masterpiece. These steps enhance the appearance and provide a protective layer for the paint. Adding decals, clear coating, polishing, and waxing are essential to complete the painting process. These elements add authenticity, shine, and durability to your diecast car. Paying attention to these steps results in a professional-looking finish that showcases your craftsmanship. The details are what separate a good paint job from a great one.
Applying Decals
Decals add detail, personality, and authenticity to your diecast car. Applying them carefully is essential for a professional finish. Cut out the decals and dip them in warm water to loosen them from the backing. Carefully slide the decal onto the car’s surface, positioning it accurately. Use a soft cloth or a decal setting solution to remove any air bubbles and ensure the decal adheres properly. Once the decals are in place, allow them to dry completely before moving on to the next step. Ensure you have the right tools and practice with the decals before application on your car. See image (decal-application.webp).
Clear Coating
A clear coat protects your paint job and enhances its appearance. Apply a thin, even coat of clear coat over the color and decals, using either an airbrush or spray can. Allow the clear coat to dry completely, following the manufacturer’s instructions. Apply multiple coats to achieve the desired level of protection and gloss. The clear coat provides a durable, scratch-resistant layer that protects the color coat. This enhances the overall look of your diecast car and protects it from wear and tear. Choose a clear coat that is compatible with your paint. Consider a UV-resistant clear coat to prevent fading.
Polishing and Waxing
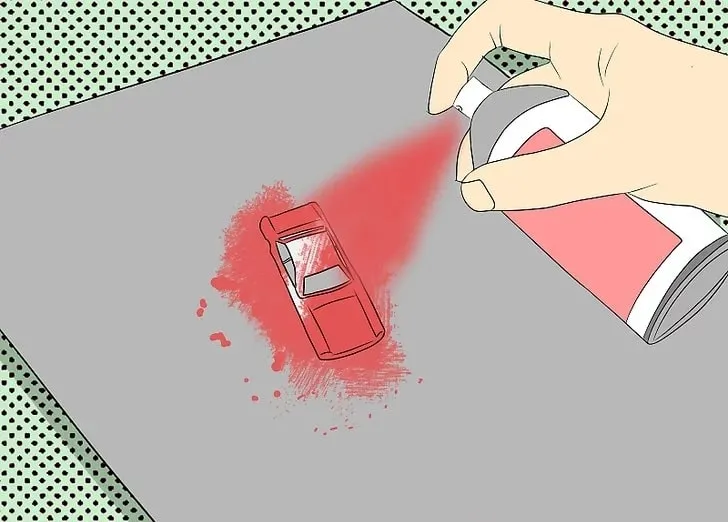
After the clear coat has dried, polishing and waxing will give your diecast car a high-gloss shine. Use a polishing compound to remove any minor imperfections in the clear coat. Apply the polishing compound to a soft cloth and buff the car’s surface. Once polished, apply a coat of wax to protect the finish and enhance its shine. Waxing adds an extra layer of protection against scratches and environmental damage. Allow the wax to cure completely before handling the car. Proper polishing and waxing will give your diecast car a professional, showroom-quality finish.
Reassembly and Final Inspection
The final step is reassembling your diecast car and inspecting your work. Carefully reattach all the components you removed during disassembly. Ensure that all parts fit properly and that there are no gaps or misalignments. During the final inspection, check for any imperfections, such as dust particles or runs, that you may have missed. If necessary, make any minor touch-ups. Take pride in your finished project, showcasing your craftsmanship. Your beautifully painted diecast car is now ready to be displayed, admired, and enjoyed.
