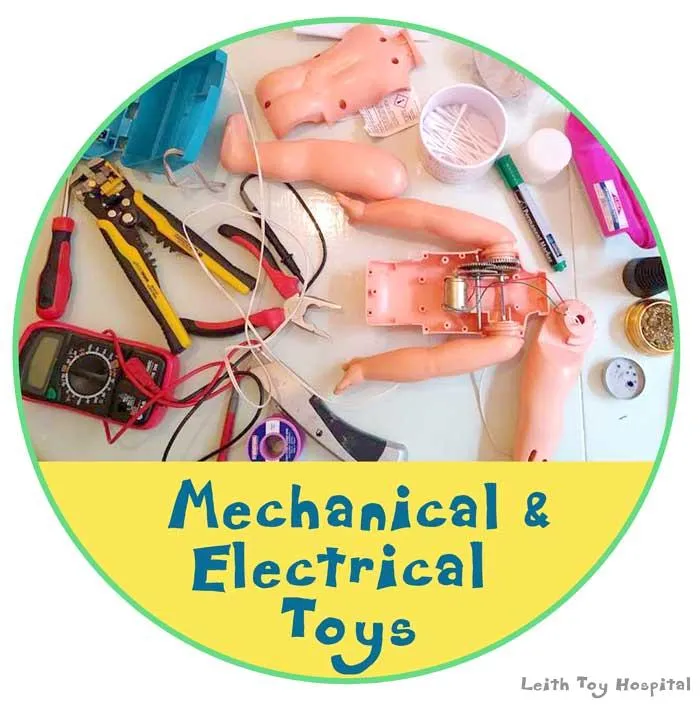
Diecast toys, cherished by collectors and enthusiasts alike, can withstand the test of time, but sometimes, accidents happen. Whether it’s a chipped paint job, a broken wheel, or a touch of rust, knowing how to repair diecast toys can breathe new life into your prized possessions. This guide provides a comprehensive look at diecast toy repair, from basic fixes to advanced techniques, ensuring your collection remains in top condition. Learn how to fix common problems and maintain their value, making your diecast toys a source of pride for years to come. Repairing your diecast toys is not only a rewarding hobby but also a cost-effective way to preserve your investment and the memories associated with these miniature marvels. So, let’s dive in and learn how to keep these toys in pristine condition.
What You’ll Need for Diecast Toy Repair
Before you begin repairing your diecast toys, gathering the right tools and materials is essential. Having everything at hand will make the process smoother and more efficient. This section outlines the fundamental items needed for various repair tasks, ensuring you’re well-prepared for any challenge. From basic tools like screwdrivers and pliers to specialized items like hobby knives and airbrushes, this guide covers everything to equip you for success. Investing in quality tools will not only make your repairs easier but also enhance the final outcome. A well-equipped workspace is the foundation of successful diecast toy repair, allowing you to tackle issues methodically and effectively.
Essential Tools
A well-stocked toolbox is a diecast toy repairer’s best friend. Essential tools include small screwdrivers (Phillips and flathead), pliers (needle-nose and regular), a hobby knife or X-Acto knife, and tweezers. These tools are crucial for disassembling, reassembling, and manipulating small parts. Additionally, a magnifying glass can be incredibly helpful for detailed work, and a soft cloth will prevent scratches. Consider investing in a set of precision tools designed specifically for model building, as these often offer superior quality and accuracy. A cutting mat is another worthwhile addition to protect your work surface. Proper lighting, such as a desk lamp with adjustable angles, is also essential for ensuring visibility and preventing eye strain during intricate repairs. Make sure to have a well-organized workspace.
Adhesives and Glues
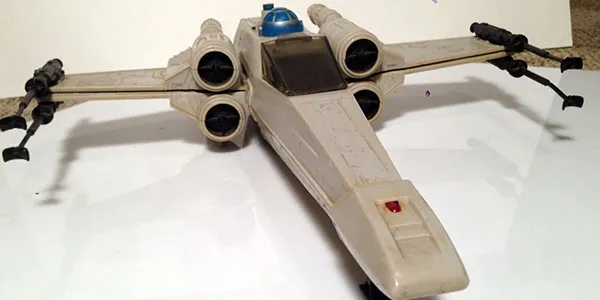
Choosing the right adhesive is critical for a successful repair. Super glue (cyanoacrylate) is excellent for bonding most materials quickly, but it can be brittle. For larger parts or where flexibility is needed, use epoxy resin. Plastic model cement is ideal for plastic components, as it melts and fuses the pieces together. Always test the glue on a hidden area first to ensure it doesn’t damage the finish. Be careful when using super glue, as it can easily bond your fingers together. For delicate parts, consider using a gel-type super glue, which provides more control. When applying glue, use a toothpick or a fine applicator to avoid over-application. Always allow sufficient drying time according to the manufacturer’s instructions before handling the repaired parts. Also, always work in a well-ventilated area when using any kind of adhesive.
Paints and Finishes
Matching the paint on your diecast toy is essential for a seamless repair. Acrylic paints are a good choice for their ease of use, quick drying time, and ability to be thinned with water. Enamel paints offer durability but require longer drying times and solvents for thinning and cleanup. Consider investing in a set of model paints specifically designed for diecast models to ensure the best color match and finish. A fine-tipped paintbrush is essential for precise detailing. An airbrush is a great tool for achieving a professional-looking finish, especially for larger areas. Always prime the surface before painting to help the paint adhere properly. Use several thin coats of paint rather than one thick coat to avoid runs and drips. After painting, consider applying a clear coat to protect the finish and give it a glossy appearance.
Common Diecast Toy Problems and Solutions
Diecast toys, despite their durability, are susceptible to certain common problems. Understanding these issues and how to address them will enable you to maintain your collection’s value and appearance. This section explores some frequent issues, such as broken parts, paint damage, and rust. Each problem is accompanied by practical solutions, ensuring you have the knowledge to handle these challenges effectively. From minor touch-ups to more involved repairs, this guide provides the information needed to keep your diecast toys in pristine condition. By learning to identify and resolve these common problems, you can safeguard your investment and enjoy your collection for years.
Broken Parts and How to Fix Them
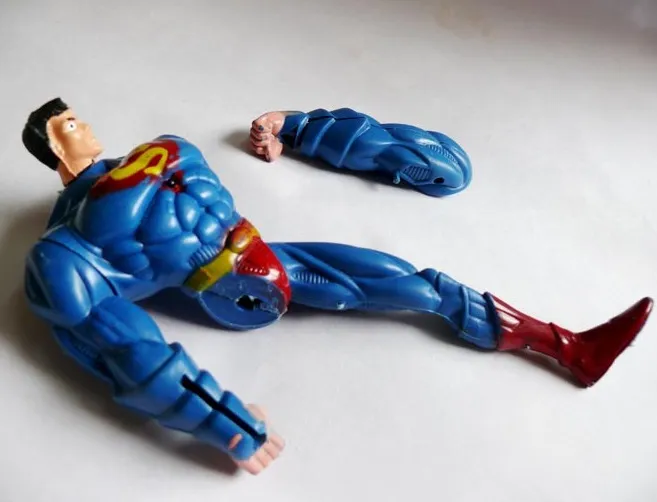
Broken parts are a common issue with diecast toys, especially wheels, mirrors, and small details. First, assess the damage and identify the broken piece. If the part is small, try gluing it back together using super glue or epoxy. Ensure that the surfaces are clean and free of debris before applying the adhesive. For larger or more complex breaks, you may need to disassemble the toy to access the damaged area. If the original part is missing, you’ll need to find a replacement. This might involve sourcing parts from another toy, using aftermarket parts, or even 3D printing a replacement. When reattaching the part, use the appropriate adhesive and allow it to dry completely before handling. If the broken part is a wheel, make sure it spins freely after the repair.
Restoring Paint and Decals
Paint damage, such as scratches, chips, and fading, can significantly detract from a diecast toy’s appearance. The first step in restoring the paint is to clean the damaged area gently with a soft cloth and rubbing alcohol to remove any dirt or debris. If the chip is small, use a fine-tipped brush to apply matching paint. For larger areas, consider using an airbrush to achieve a smoother finish. After the paint has dried completely, you may need to lightly sand the area to blend the new paint with the original finish. If the toy has decals that are damaged or missing, you may be able to purchase replacement decals online. Apply the new decals carefully, following the manufacturer’s instructions. Finally, apply a clear coat to protect the paint and decals and give the toy a glossy finish. Remember to take your time and work in a well-ventilated area when painting and applying clear coats.
Rust Removal and Prevention
Rust is the enemy of diecast toys, particularly those stored in humid environments. Begin by carefully examining the toy for rust. If present, gently remove loose rust with a soft wire brush or a fine abrasive pad. For more severe rust, consider soaking the affected parts in a rust removal solution. Be sure to follow the manufacturer’s instructions and wear appropriate safety gear. After removing the rust, thoroughly clean the parts and dry them completely. To prevent future rust, apply a thin coat of oil or wax to the metal parts. Store your diecast toys in a dry, well-ventilated area. Consider using silica gel packets in storage containers to absorb moisture. Regular cleaning and maintenance can significantly extend the life of your diecast toy and prevent rust. Inspect your collection periodically and address any early signs of rust immediately before it spreads.
Advanced Diecast Toy Repair Techniques

For more complex repairs and customizations, certain advanced techniques can be invaluable. These methods require patience, precision, and a good understanding of the materials involved. This section delves into advanced strategies, including disassembly and reassembly, customization, and finding replacement parts. Mastering these techniques will empower you to tackle even the most challenging diecast toy repair projects. While these techniques may require more advanced tools and skills, the results can be incredibly rewarding, transforming damaged toys into showpieces. The ability to customize your diecast toys will allow you to create one-of-a-kind pieces, showcasing your creativity and passion for these miniature marvels.
Disassembly and Reassembly
Disassembling a diecast toy is often necessary for in-depth repairs or customizations. Start by carefully examining the toy to identify any screws, rivets, or other fasteners. Use the appropriate screwdriver or tool to remove the fasteners. Keep track of all the parts and their order to make reassembly easier. Take photos during the disassembly process to serve as a visual guide. Some parts may be glued together, so you may need to use a hobby knife to carefully separate them. When reassembling, ensure all parts are correctly aligned and that screws are tightened securely. Be careful not to overtighten screws, as this can strip the threads. If you’re working with rivets, you may need to replace them with screws or other fasteners. Before reassembling, consider cleaning the internal parts to remove dust or debris. Take your time and work methodically to avoid damaging the toy. Reassembly is the most crucial step, so make sure you have everything in its right place.
Customizing and Detailing
Customizing and detailing your diecast toys allows you to personalize them to your exact specifications. This may involve repainting the entire model, adding custom decals, or modifying the body or interior. To customize your diecast toy, first, disassemble the toy. Strip the existing paint using paint thinner or by carefully sanding it off. Then, prime the surface. Choose your paint colors and techniques to match the look you’re after. Adding custom decals can further enhance the appearance of your toy. For detailing, you can use fine brushes and paints to add details like chrome trim, headlights, and taillights. Modifications might involve replacing wheels, adding spoilers, or modifying the interior. Always take your time and work in a well-ventilated area with appropriate safety gear. By customizing your diecast toys, you create a unique piece that reflects your style and interests. Detailing and customizing are a perfect way to create a personalized collection.
Where to Find Replacement Parts
Finding replacement parts is often the key to successful diecast toy repair. Several sources can help you locate the necessary parts. Online marketplaces like eBay and specialized diecast toy forums are great places to start. Search for the specific make and model of your toy to find replacement parts. You can sometimes find parts from other damaged toys. Model car and hobby shops often carry a selection of replacement parts, as well. Consider joining online communities or forums to connect with other collectors and repair enthusiasts. They may be able to assist you in finding specific parts or offer advice on repairs. Always compare prices and check the seller’s reputation before making a purchase. If the original part is unavailable, you may be able to find aftermarket replacements or even have a part 3D printed. Exploring different options is essential to get your toy back into working order.
In conclusion, repairing diecast toys is a rewarding hobby that allows you to preserve the value and beauty of your collection. By following this guide and acquiring the necessary tools and techniques, you can confidently tackle any repair challenge. From basic fixes like gluing broken parts to more advanced techniques like custom painting and detailing, you can breathe new life into your diecast toys. Remember to take your time, be patient, and enjoy the process of bringing these miniature marvels back to their former glory. Happy repairing!
